
Why do face shape, age, and overall impression vary across AI-generated images, even when they reference photos of the same person?
It started with hands-on experience.
When creating images of yourself, it is easy to assume at first that adding more photos will make the face more accurate. You might supply frontal shots, smiling photos, profiles, and even older pictures all at once, only to get what looks like a different person each time. In some scenes the eyes and nose change; in others the person looks older or has a different hairstyle.
The problem I found while creating multiple images myself was not a shortage of photos either. I had plenty of similar pictures, but their roles were not defined: which photo established identity, and which ones supplemented expression and angle? With different periods, lighting conditions, and hairstyles mixed together, the generation tool was interpreting the faces as something like an average.
The solution was not to keep adding photos, but to establish a standard. I defined a representative current appearance and fixed a neutral frontal photo as the identity reference. Then I separated left and right angles, smiles, speaking expressions, and full-body shots by role, and documented the features that must not change, such as face shape, eyes, nose, mouth, jaw, hair, and skin.
Finally, instead of supplying the entire library each time, I selected only the 3–5 photos needed for the scene. When I centered that selection on one frontal reference, one image of the requested expression, and one of the requested angle, the tendency to average out the face decreased, and the reasons for edits became much clearer. Facial consistency came not from the volume of photos, but from a system connecting standards, selection, and validation.
Key perspective
A face identity system is not a photo folder. It is an operating framework that brings together a representative current appearance, facial features to keep stable, the role of each photo, selection rules for each scene, and criteria for correcting failed results.
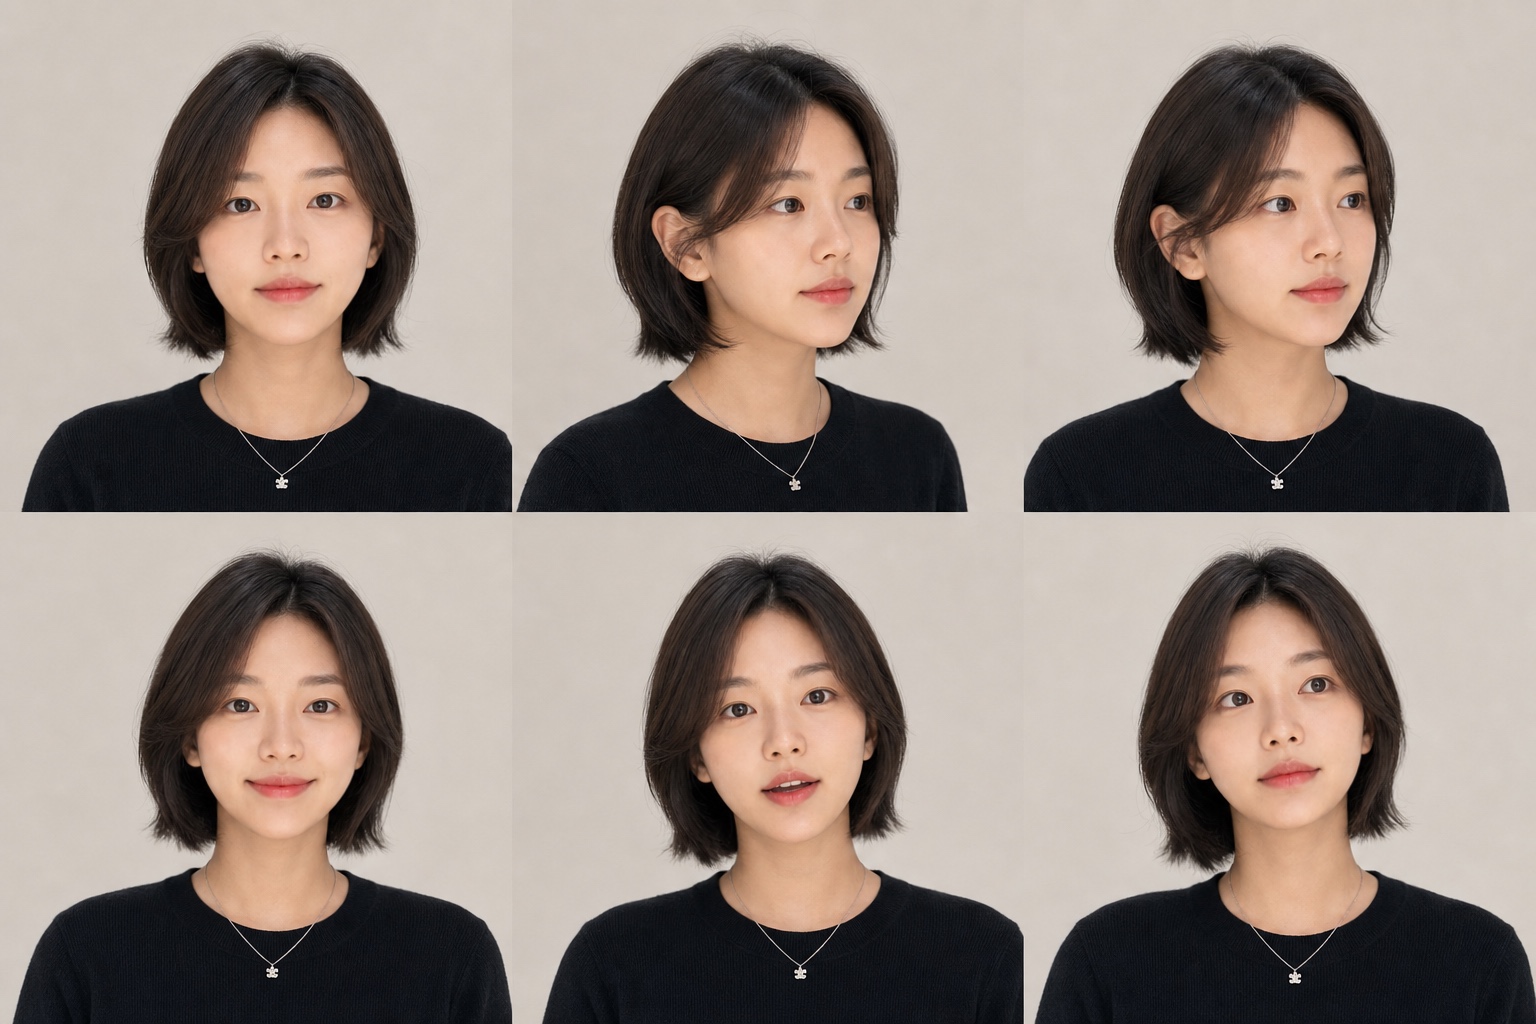
The most important distinction is between the library and the actual input. In the library, prepare enough material to support a broad range of uses: frontal, left and right 45-degree, and profile views, as well as neutral, smiling, and speaking expressions. But do not use every photo in a single generation. Selecting only 3–5 images centered on the frontal baseline, requested expression, and requested angle reduces conflicting information.
Another important step is separating stable features from variable elements. Fix face shape, eye shape and spacing, nose width and contour, jawline, hair silhouette, skin tone, and the characteristics of the smile as identity standards. Clothing, background, pose, lighting, and composition, however, can change from one task to the next. Clarifying this boundary prevents the room or clothes in a reference photo from being copied repeatedly as well.
When a result does not resemble the person, compare what has changed rather than adding more photos. Distinguishing whether the frontal identity reference is weak, the requested angle is missing, materials with different ages and hairstyles have been mixed, or skin retouching is excessive makes regeneration instructions more specific. Consistency is less about getting a perfect image in one attempt than about recognizing errors and correcting them against a standard.
Keep the Library Broad and Each Input Focused
The number of photos to prepare is different from the number to use in an actual generation.
| Set | Recommended Composition | Purpose |
|---|---|---|
| Minimum test set | 8–10 photos | Check basic reproducibility across frontal, left and right views, smiles, and other essentials |
| Recommended library | 18–24 photos | Cover 5 angles, key expressions, and upper-body and full-body views, each with a defined role |
| One generation | 3–5 photos | Minimize conflicts around a frontal reference + requested expression + requested angle |
7 Steps to Building a Personal Face Identity System
This approach is not tied to a particular service. The same principles apply in any image-generation environment that can use photo references.
-
01
Purpose
First, decide where you will use the face.
List the uses you need: profiles, presentation materials, thumbnails, advertising images, full-body scenes, and edits to existing images. The angles, expressions, and full-body references you need will vary with the intended scenes.
What to checkYou should be able to describe three scenes you will create often, along with the baseline hairstyle and clothing, in one sentence.
Common mistakeCollecting only attractive photos without a clear purpose for using them.
What this step taught meThe clearer the intended use, the clearer the role of each photo you need.
-
02
Capture
Photograph 5 angles and the key expressions.
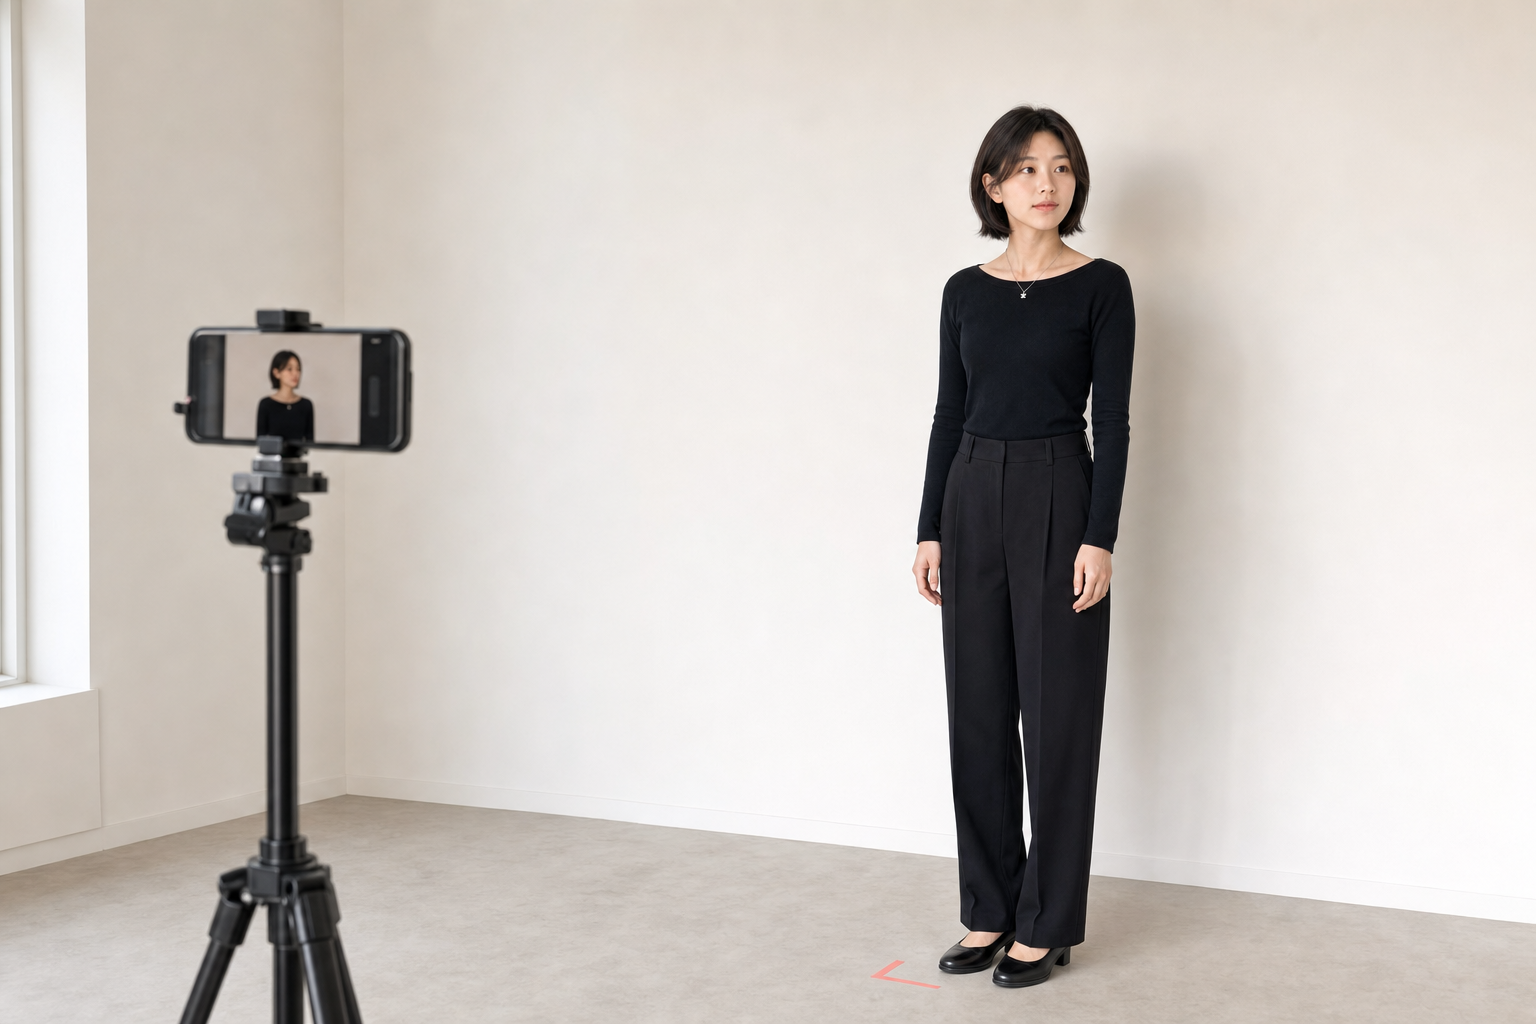
Use frontal, left and right 45-degree, and left and right profile views as the foundation, and capture neutral, naturally smiling, and speaking expressions. Position your phone's rear 1x or 2x camera at eye level, about 1.2–1.8m away. Use soft natural light and a simple background, and turn off filters and beauty retouching.
What to checkThe top of the head, ears, chin, and shoulders should not be cropped, and the eyes, nose, mouth, and hair edges should be clear.
Common mistakeShooting close to the face with an ultrawide or selfie lens, distorting the nose and face width.
What this step taught me15 clear photos with different roles provide more information than 100 blurry ones.
-
03
Select
Keep only 18–24 photos and reduce duplicates.
From a burst of shots, keep only the clearest, most natural one. Prioritize photos that add different information, such as a new angle, expression, upper-body view, or full-body view, over similar photos serving the same role. Separate older photos that show a different age, hairstyle, or baseline appearance from the one you want to use now.
What to checkYou should be able to say whether each photo serves as a reference for identity, expression, angle, hair, or body proportions.
Common mistakeMixing photos from different periods and with different hairstyles in one set without explanation.
What this step taught meA good library is made up not of many photos, but of photos whose roles do not overlap.
-
04
Organize
Record the angle and expression in the filename.
Organize filenames in a format such as 'name-front-neutral-01' and 'name-left45-smile-01.' Create groups for the frontal baseline, smile, speaking expression, left and right angles, downward gaze, and full-body views, and leave one line beside each file explaining why it was selected.
What to checkYou should be able to choose references for the requested scene from filenames alone, without opening the images.
Common mistakeUsing names such as IMG_001, final, or good-face that do not explain the image's role.
What this step taught meFile organization improves the accuracy of selection more than the speed of generation.
-
05
Specify
Put the facial features that must not change into words.
Use observable language to describe face shape and width, jaw and chin, nose length and width, eye shape and spacing, eyebrows, hair color and silhouette, skin tone, and the shape of the eye area and mouth when smiling. At the same time, list changes to avoid, such as excessive retouching, age changes, different hair, and exaggerated features.
What to checkThese should be specific features you can compare in the result, rather than instructions such as 'make it beautiful' or 'make it look like me.'
Common mistakeWriting down only subjective aesthetic preferences while omitting stable facial features and prohibited changes.
What this step taught mePhotos show the form; words explain what must be preserved.
-
06
Recipe
Select only 3–5 photos for a single generation.
Choose the clearest neutral frontal photo first, the requested expression second, and the requested angle third. Add a second identity reference or hair or full-body material only when needed. When editing an existing image, reserve one slot for the image to be edited.
What to checkEach selected photo should convey the same age and appearance and connect directly to the requested scene.
Common mistakeSupplying the entire library at once in an attempt to improve accuracy.
What this step taught meMore references do not necessarily mean greater accuracy. Fewer contradictions mean greater consistency.
-
07
Validate
Validate with frontal, profile, expression, and full-body scenes.
Test scenes of varying difficulty, such as a frontal smile, a conversation at 45 degrees, a profile, a full-body view, and an edit to an existing image. Compare face shape, eyes, nose, mouth, jaw, hairline, smile, and skin texture against the reference image, and make specific corrections only to the features that changed.
What to checkYou should be able to explain a failure as a lack of photos, a missing angle, conflicting references, or excessive retouching.
Common mistakeContinuing to add photos and instructions when a result does not resemble the person, without first identifying the cause.
What this step taught meConsistency comes from a repeatable validation and correction process, not a perfect first result.
How Face Photos Become Reusable Image Assets
Rather than letting photos accumulate as they are, connect them to standards, selection, and validation.
- 01PhotographCapture angles and expressions
- 02CurateRemove duplicates and conflicts
- 03DocumentStable features and prohibited changes
- 04Select3–5 photos per scene
- 05ValidateIdentify differences and refine rules
Shooting Standards for Good Reference Photos
Reduce distortion and lighting differences so the images can be understood as different views of the same person.
Keep the camera at eye level and allow enough distance.
Position the rear 1x or 2x camera at eye level, 1.2–1.8m from the face.
What to aim forAvoid wide-angle selfies and high or low camera angles
Use soft natural light.
Position the window in front of you or at 45 degrees so the contours and skin tone on both sides of the face are visible.
What to aim forAvoid backlighting, colored light, and harsh shadows
Photograph the baseline appearance in one session.
Shoot on the same day with the same hairstyle and a plain top, changing only the angle and expression to reduce conflicting information.
What to aim forTurn off filters and beauty mode, and avoid heavy makeup
Preserve original resolution and sharp focus.
Keep originals with a long edge of at least 2,000 pixels, and check the eyes, nose, mouth, and hair edges.
What to aim forAvoid blurry video captures and small group photos
What to Check First When the Face Does Not Resemble You
Adjust references and instructions differently depending on the symptoms of the failure.
It looks like a generic, different person.
The frontal identity reference may be weak, or the facial features may have been described too abstractly.
What to aim forStart again with the clearest frontal image and specific descriptions of face shape, nose, and jaw
The face is being averaged out.
You may have supplied too many similar photos or combined different ages and angles.
What to aim forReduce the set to three photos: frontal + expression + angle, and try again
The nose and jaw change in profile.
You are likely missing a sufficient 45-degree or profile reference in the requested direction.
What to aim forAdd a clear angled photo facing the requested direction
The skin looks like plastic.
Filtered photos, excessive sharpness, and different lighting may produce conflicting skin information.
What to aim forUse unfiltered originals and instructions to preserve real skin texture
“Facial consistency comes not from adding more photos, but from deciding the standards by which to select and validate them.”
Park Siha · SIHA
Putting it into practice
- 01Choose three frequent uses from profiles, thumbnails, full-body scenes, and image editing.
- 02Photograph neutral, smiling, and speaking expressions from the front, left and right 45-degree angles, and profiles.
- 03Keep only one image from each burst, and build a library of 18–24 photos serving different roles.
- 04Include the person's name, angle, expression, and number in filenames so they are searchable.
- 05Describe face shape, eyes, nose, mouth, jaw, hair, skin, and smile characteristics in observable terms.
- 06Use only 3–5 photos per generation, centered on the frontal reference, requested expression, and requested angle.
- 07Compare frontal, profile, expression, and full-body results, and make specific corrections only to changed features.
- 08Keep original face photos out of public repositories and shared files, and manage their access permissions separately.
Checklist for Completing Your First Face Identity System
Once all the following are ready, you can test facial consistency across a variety of scenes.
I have defined the age, hairstyle, and baseline clothing to use now.
I have clear frontal photos with neutral, smiling, and speaking expressions.
I have left and right 45-degree photos and profile photos in the required directions.
I have excluded filters, wide-angle distortion, blurry captures, and duplicate photos.
I can identify the angle and expression from the filename alone.
I have documented the facial features to preserve and changes to avoid.
I have defined the combination of frontal, expression, and angle photos to select for each scene.
I have checked the sharing scope and access permissions for the original photos.
Free Starter Kit
A Free Starter Kit for Defining Your Face References
I have brought together shooting standards, filename rules, prompts, and a general-purpose skill so you can follow the article's 7 steps yourself.
- A checklist for photographing and selecting face references
- Rules for selecting 3–5 photos per scene, with filename examples
- Reusable prompts and a troubleshooting table organized by cause
- A general-purpose skill ZIP that can be applied in any image-generation environment
We will send the skill link once to your email address.Newsletter signup is optional.
Further thoughts
The purpose of this system is not to lock a face perfectly in place, but to reduce the cost of explaining and correcting it again for every task. When the roles of the frontal reference, angles, and expressions are defined, you can quickly select the images you need and know what to correct when the result changes.
Face photos are among the most sensitive forms of personally identifying information. You must use only your own face or photos of someone who has given clear permission. Do not include folders containing original photos in public repositories, shared links, or distribution files, and check how your working tools store them and control access.
Technology keeps changing, but the way we establish standards lasts. If you clearly define the current appearance, select references with distinct roles, and establish scene-specific selection and validation rules, you can carry the same system over when using a new image tool.